Notion
Import content items from pages in your Notion workspace.
Setup integration in Notion
Notion requires you to setup an integration and then link specific databases or pages to the integration that the integration can query.
This section will cover the following topics:
- Setting up an internal integration in Notion.
- Grant access to specific pages and/or databases.
Create an integration
- You will need Admin level access to your Notion workspace to complete this.
- Go to your integrations page in the Notion console: https://www.notion.so/my-integrations
- Click the + New integration button.
- Give your integration a descriptive name in the Name field, e.g. "Meya".
- You can optionally upload a Logo for the integration.
- Select a workspace in from the Associated workspace field.
- Click Submit
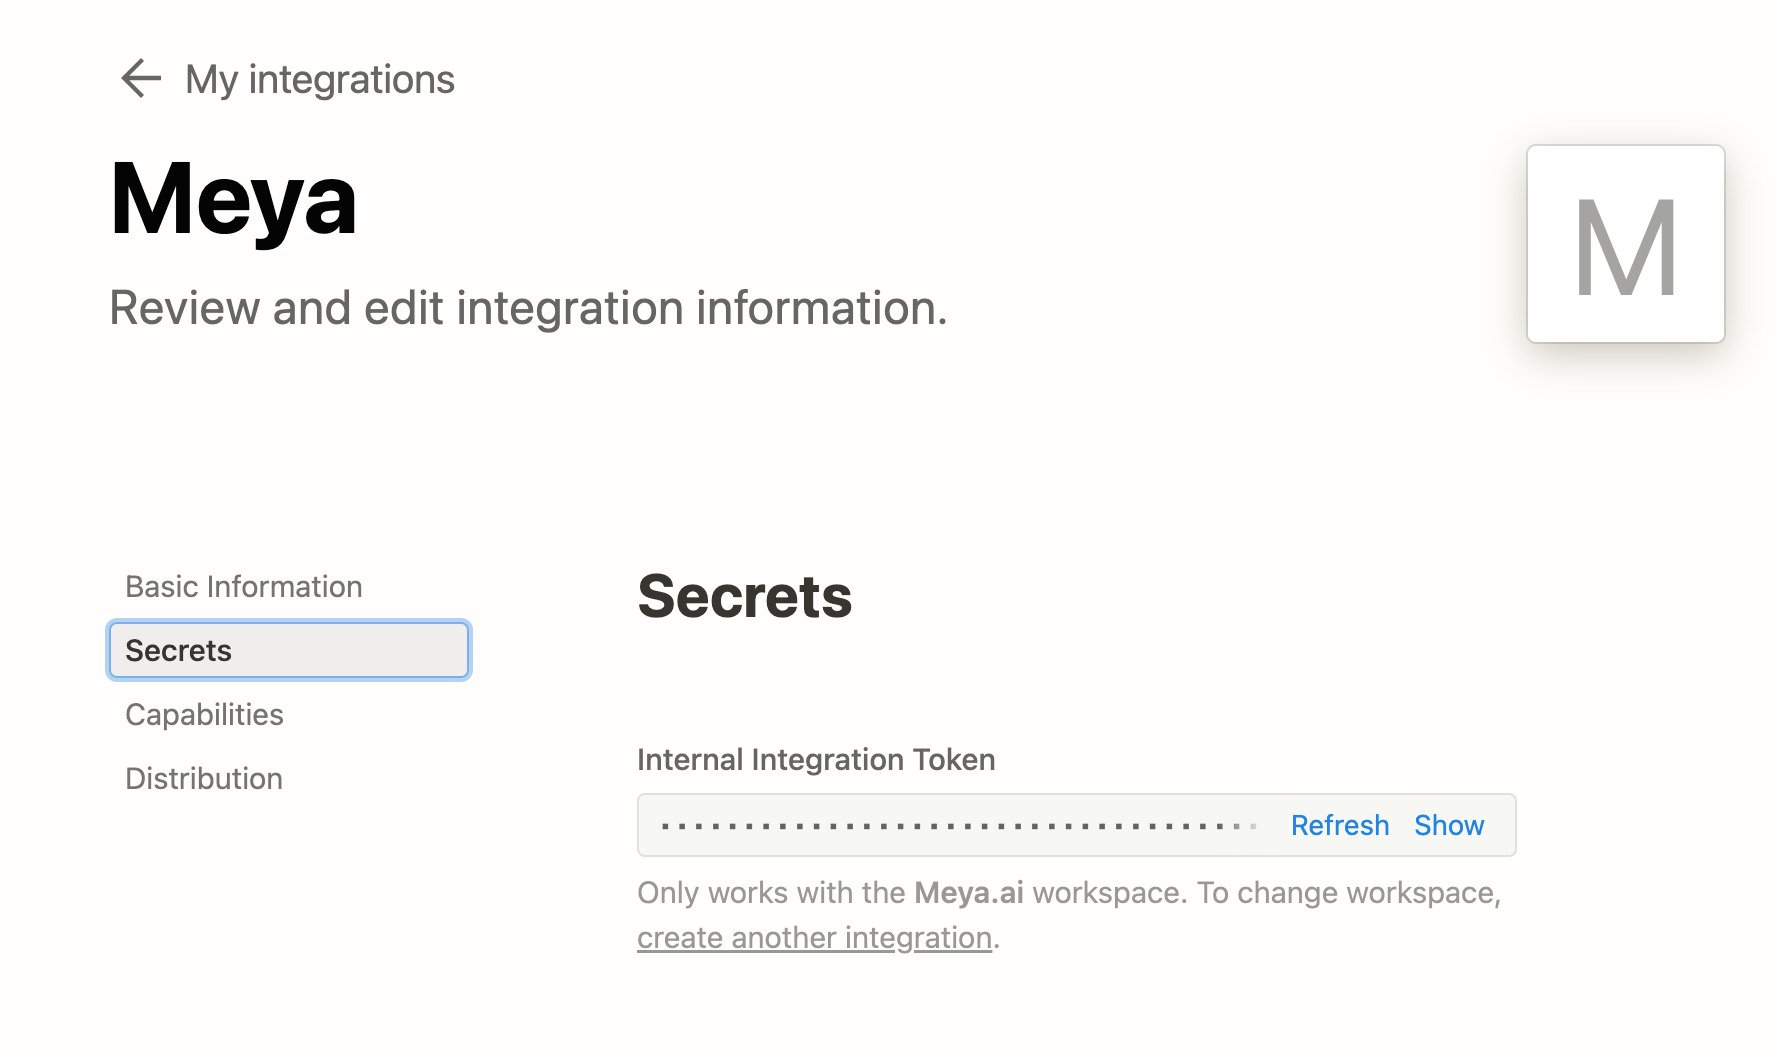
- This will show the integration Secrets page.
- Copy the Internal Integration Token and store it for later use.
Add capabilities to your integration
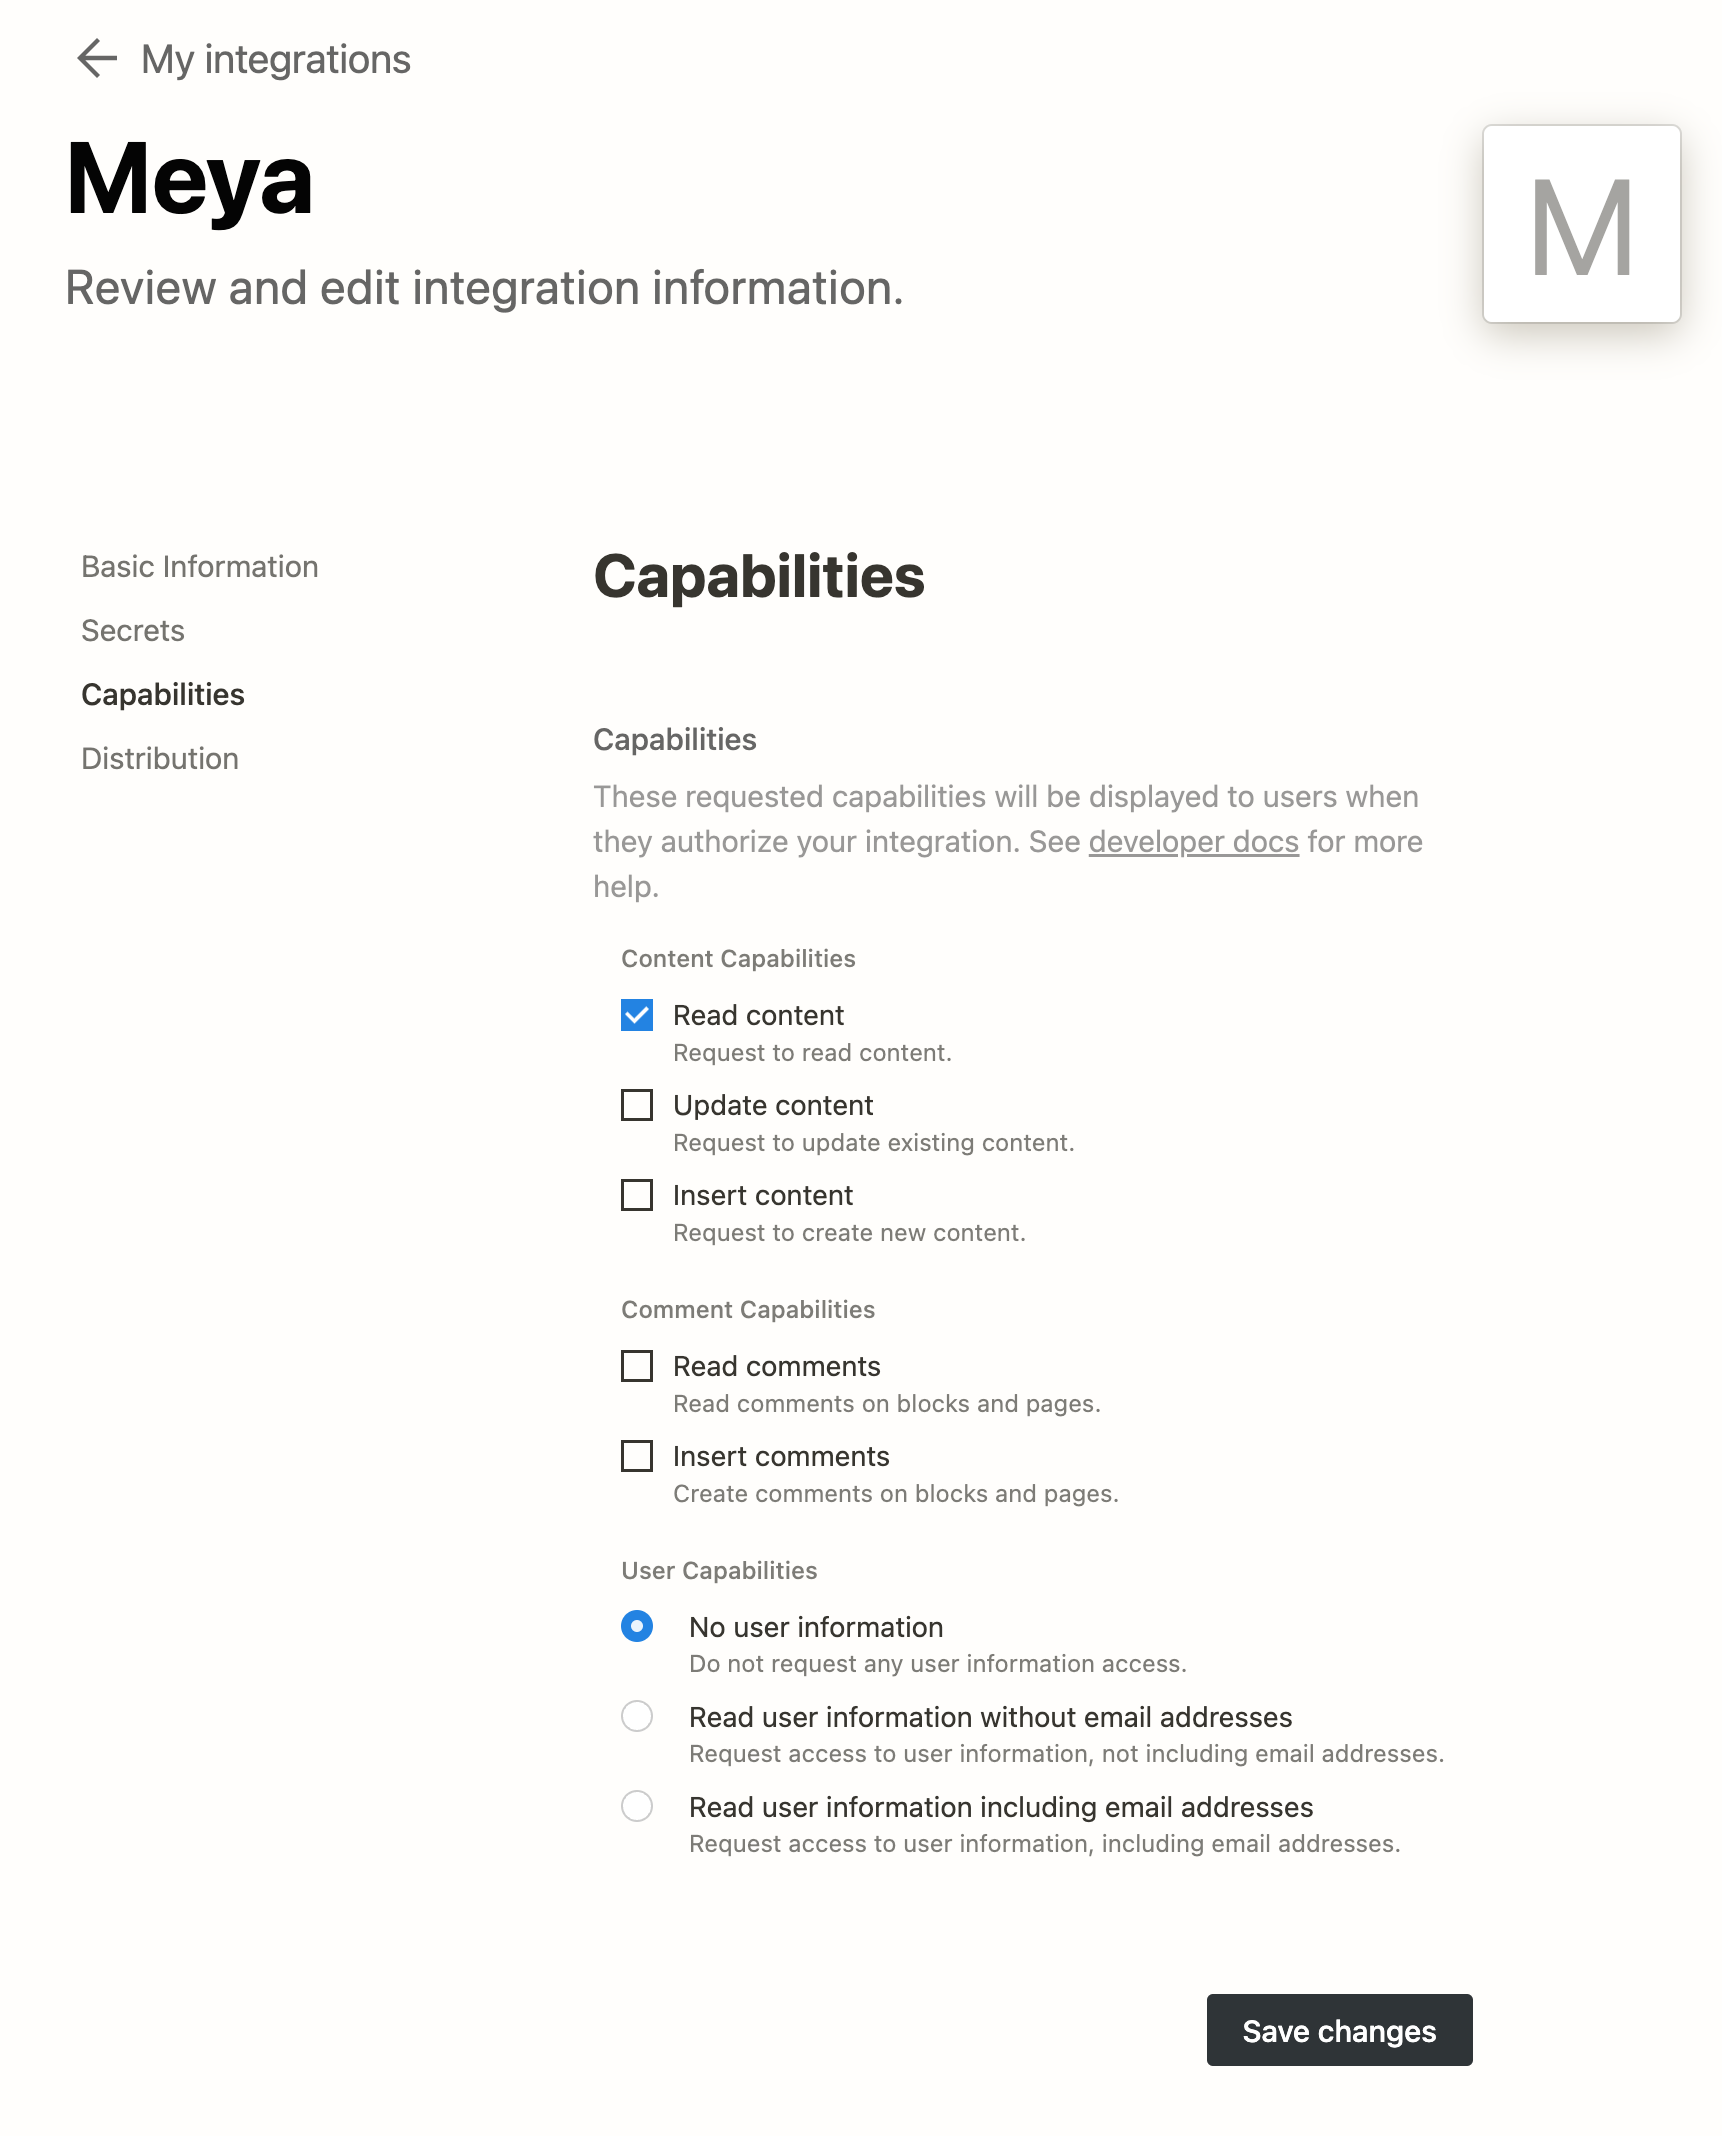
- From your integration's details page in the Notion console, select the Capabilities section.
- Make sure the following capabilities are selected:
- Read content, and
- No user information
- You can technically enable other capabilities, but the Meya data source integration only requires Read content access.
- Click Save changes.
Share a database with your integration
Now that you've created an integration, you need to grant it access to a database in your Notion workspace.
- From your Notion workspace, go to the database page you want to share.
- Click the
...link on the top right corner of the page. - At the bottom of the menu, click Add connections.

- Search for and select the integration you just created in the Search for connections... menu.
- (You might need to refresh the page, if your integration does not appear in the search results.)
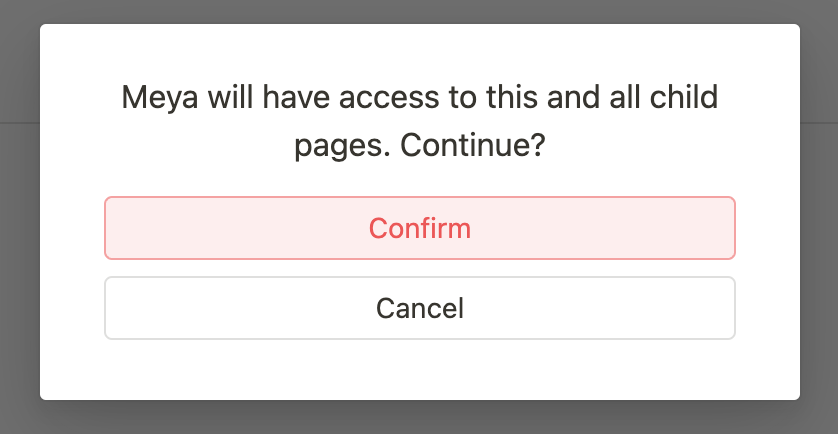
- Click Confirm in the confirmation dialog.
Get your database ID
You'll need the database ID in order to make queries and import pages from Notion.
- From the Notion workspace, open the database you shared with your integration.
- If you're using an inline database, then make sure you're viewing the database as a full page.
- If you're using the Notion desktop app, then click the Share button and select the Copy link option to find the database URL.
- That database ID is the string of characters in the database URL that is between the slash following your workspace name (if you named it) and the question mark.

- Copy this ID and store if for later use.
- (Repeat these steps if you've shared multiple databases with your integration.)
API Request Limits
Notion imposes API request limits when querying the Notion API. This is important if you are planning on importing many pages and possibly have other integrations configured in your Notion workspace.
The Meya data source integration will automatically retry API requests that fail due to a 429 rate limit response from Notion, and apply an exponential backoff to help reduce load on your Notion API endpoint. However, the import job will eventually fail if the integration could not successfully query the API after a number of reties.
Check the Notion API Request Limits guide for more information.
Setup the Notion data source
You can add the Notion data source from the OpenAI integration page in the Meya Console. Check the OpenAI setup guide if you've not configured the integration yet.
- Open the Meya Console
- Select your app from the app list.
- Go to the Integrations page.
- Select the OpenAI integration.
- Hover over the + Add data source button and select the Notion option.
- This will add the Notion data source form.
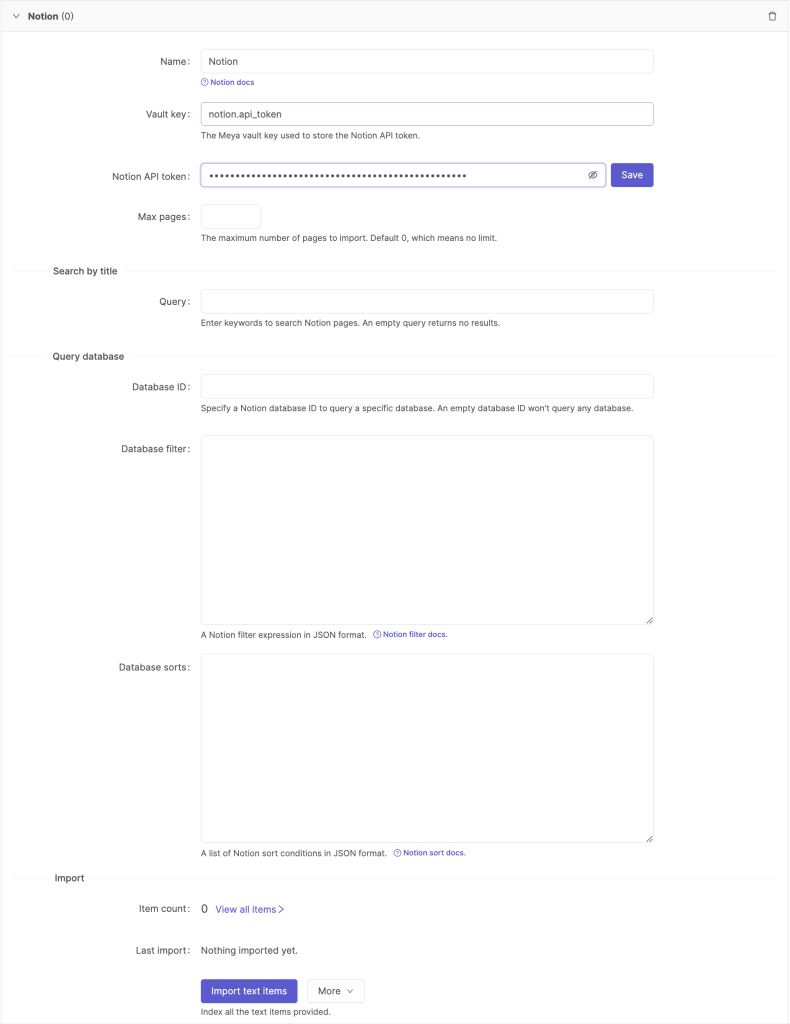
- Give the data source a descriptive name.
The sections below will describe each field and how to configure it in more detail.
Vault key
All integration and app secrets are securely stored in your app's vault and are referenced by a specific vault key. The default vault key for the Notion data source is notion.api_token , but you can give it any descriptive value that makes sense to you.
Using the default vault key is fine for most cases, however, if would like to setup more than one Notion data source that import's pages from a different Notion workspace, then you'll need to define a specific vault key for each Notion data source.

Notion API token
- Use the API token you generated from the Create an integration section above.
- Paste the API token into the Notion API token field, and click Save
- Clicking Save will first verify that the token is valid and will do a test API call to make sure it works.
- This will also save the API token into your app's vault.

Max pages
This field allows you to optionally limit the number of pages to import. Usually you would like to import all the pages that match your filter criteria, but this field is often useful to use when testing different filtering queries where limiting to 10 pages, for example, will make the import job quicker.
Query
This field allows you to search for all parent or child pages and databases that have been shared with your integration in Notion.
Note, if you don't provide a search query then the data source will not query your Notion integration.

Database ID
This fields allows you to query a specific Notion database. Check the Get your database ID section above to see how you can get a database's ID from your Notion workspace.
If you would like to import pages from multiple databases then you will need to add multiple Notion data sources, each referencing a separate database. Alternatively, you can use a search query to search across all databases.
Note, if you don't provide a database ID then the data source will not query your Notion integration.

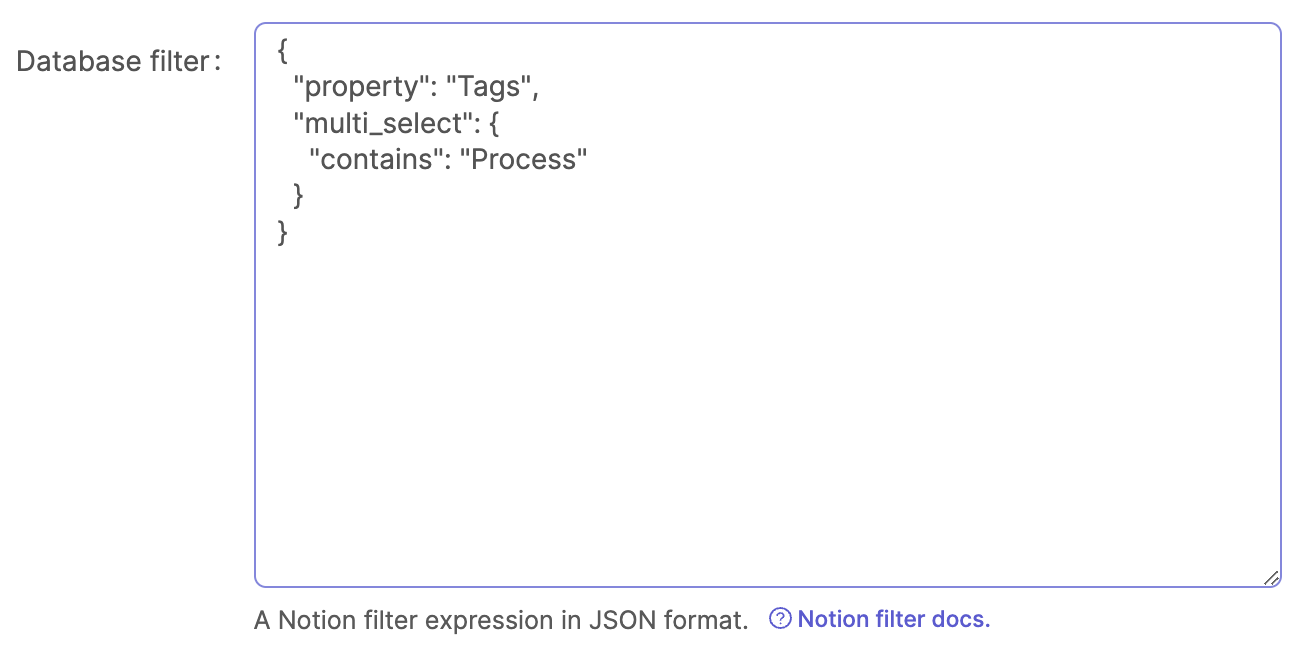
Database filter
This allows you to create a Notion filter condition to filter for certain pages in a Notion database. Currently the database filter condition needs to be provided as a JSON object that conforms to Notion's filter schema: check the Notion filter guide.
Note, you do not provide the filter keyword in this field, doing so will result in a validation error.
Here is an example filter that will filter pages by Tags:
{
  "property": "Tags",
  "multi_select": {
    "contains": "Process"
  }
}
The Notion filter condition also allows you to build more complex "compound" filters that combine multiple filter conditions with AND/OR operators: check the compound filter conditions section in the Notion filter guide.
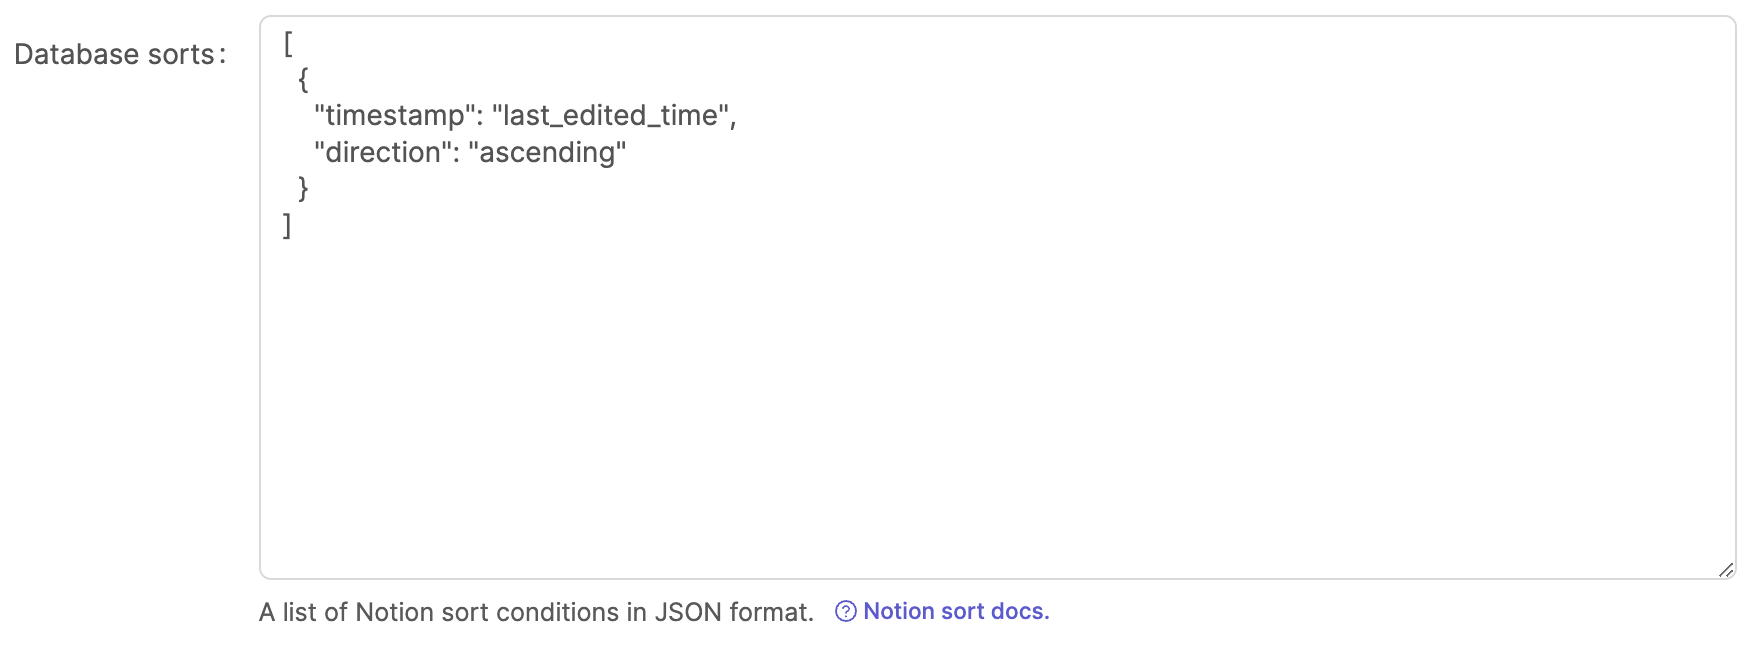
Database sorts
This allows you to create Notion sort conditions to order pages returned by the database query. Currently the database sorts conditions must be provided as a JSON list that conforms to Notion's sorts schema: check the Notion sorts guide.
A database query can be sorted by a property and/or timestamp and in a given direction.
Note, as with the database filter field, you do not need to provide the sorts keyword in this field, doing so will result in a validation error.
Here is an example that will sort pages by last_edited_time:
[
  {
    "direction": "ascending",
    "timestamp": "last_edited_time"
  }
]
Import
Once you've set your Notion credentials and database filter options you import and index your Notion pages.
- Click the Import text items button to start the import and indexing jobs.
- This might take a few minutes to complete if you have a large number of articles.
- Once complete, click the View all items > button to view all the imported content.

- The Notion data source will import and convert each article to the markdown syntax.
Updated 8 months ago
