Tutorial 4: Randomizing responses using Bot CMS
Build a bot that sounds more natural by randomly selecting a response using Bot CMS.
While we don't recommend you trick users into thinking your bot is actually human, having your bot behave in a human-like way can improve the user experience. Bot CMS enables you to create content from which your bot can randomly select responses. In this tutorial, you'll learn how.
Before you begin...
We recommend you create a new bot and follow along with this tutorial, but if you prefer, you can go ahead and clone the finished bot: cms-random.
1. Create a new bot
Start by creating a new bot. Name it cms-random. Click Add First Flow in the bot's dashboard.
2. Randomizing text with meya.random_text
While you don't need Bot CMS to randomly select responses, you'll soon see why Bot CMS is the better option.
Enter the following code in the flow code editor.
states:
    start:
        component: meya.random_text
        properties:
            responses:
                - Hi!
                - Hello, friend!
                - Hey, what's up?
Give the flow a catchall trigger by clicking the pen icon just above the code editor in Bot Studio and selecting catchall from the Intent Type drop-down. Click OK, then save the flow.
Test your bot in the test chat window.

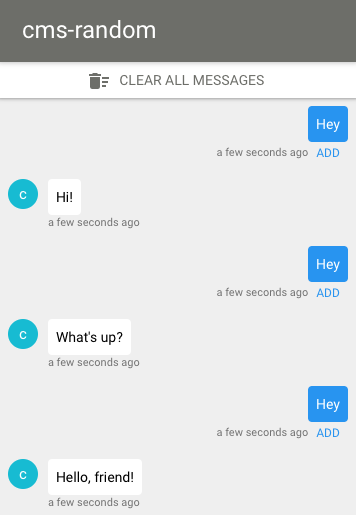
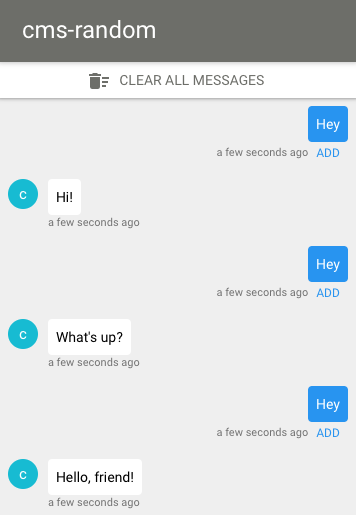
Your bot randomly selects a response from hard-coded values.
Pretty cool! But once again, this solution works best when there aren't too many flows or custom components to manage. If these responses appear in several flows and custom components, making changes to them will be a nightmare. Let's recreate using Bot CMS.
3. Referencing Bot CMS content in a flow
Delete the meya.random_text component and replace it with a meya.text component. Enter "{{ cms.greetings.hello }}" in the text property. Your welcome flow should look like the code below.
states:
    start:
        component: meya.text
        properties:
            text: "{{ cms.greetings.hello }}"
Using Mustache syntax, you're telling your bot to look for content with the hello key in the greetings space in Bot CMS. There's only one problem: we haven't added the content! Let's do that now.
4. Adding content to Bot CMS
Click the Edit Content button above the code editor in Bot Studio. In the Entity Editor, create a new entity by setting Space to greetings, Key to hello, IO Type to Output, Language to en - English, and Value to Hi!. Click Save.
Create two more entities with the same settings, except make one value Hello, friend!, and the other Hey, what's up?.

Enter the greetings from which our bot will randomly select.
Remember to click Save. Now click Close to leave the Entity Editor.
Your bot now has three greetings to choose from in Bot CMS. It also knows how to access the content because of the Mustache code you entered in the welcome flow. It's time to test it out!
In the test chat window, enter any text (remember, you used a catchall trigger to launch the welcome flow).

Your bot will randomly select a response.
Your bot chose a random response from the entities that matched our criteria (in the greetings space, with a key of hello, language matching our bot's default language setting, and IO type of Output). Yes!
The best part is, if you ever want to add, remove, or change your bot's greetings, you can do it all from one place: the Bot CMS Entity Editor.
Tip: If your bot doesn't work, clone the cms-random bot and compare it with your own.
Congratulations!You now know how to randomize text using Bot CMS.
Updated 8 months ago
If you skipped any Bot CMS tutorials, here they are:
